Choose how a stop opens
Lock a stop to your current GPS location, enter coordinates, assign a QR or NFC tag, or let visitors activate it with a tap. A waypoint does not need a map to work.
Build an experience people can use on site. Waypoints Studio attaches teaching, answers, quizzes, and media to real-world stops; Waypoints Maps puts those stops on a photo, floor plan, or map and can guide visitors between them. A map is optional for Studio.
Start with an experience or a training journey. Build the route yourself, or paste a handbook section, SOP, or exhibit notes and let the AI draft editable waypoints, descriptions, and quiz questions.
Lock a stop to your current GPS location, enter coordinates, assign a QR or NFC tag, or let visitors activate it with a tap. A waypoint does not need a map to work.
Add instructions and documents, ground an AI Guide in knowledge for that stop, or attach narration, video, and quiz questions. Choose the capabilities and content that belong at each location.
For experiences, visitors can collect stamps as they go. For training journeys, add questions at the stops where a person can apply what they just learned. Optional rewards can be tied to collected stamps.
Set the experience name, colors, logo, and available tabs, then publish a link and QR code. The published visitor view opens without a login; return to the builder to edit and re-publish it.
Maps adds a visual layer to a Studio experience or stands on its own as an interactive guide to a space.
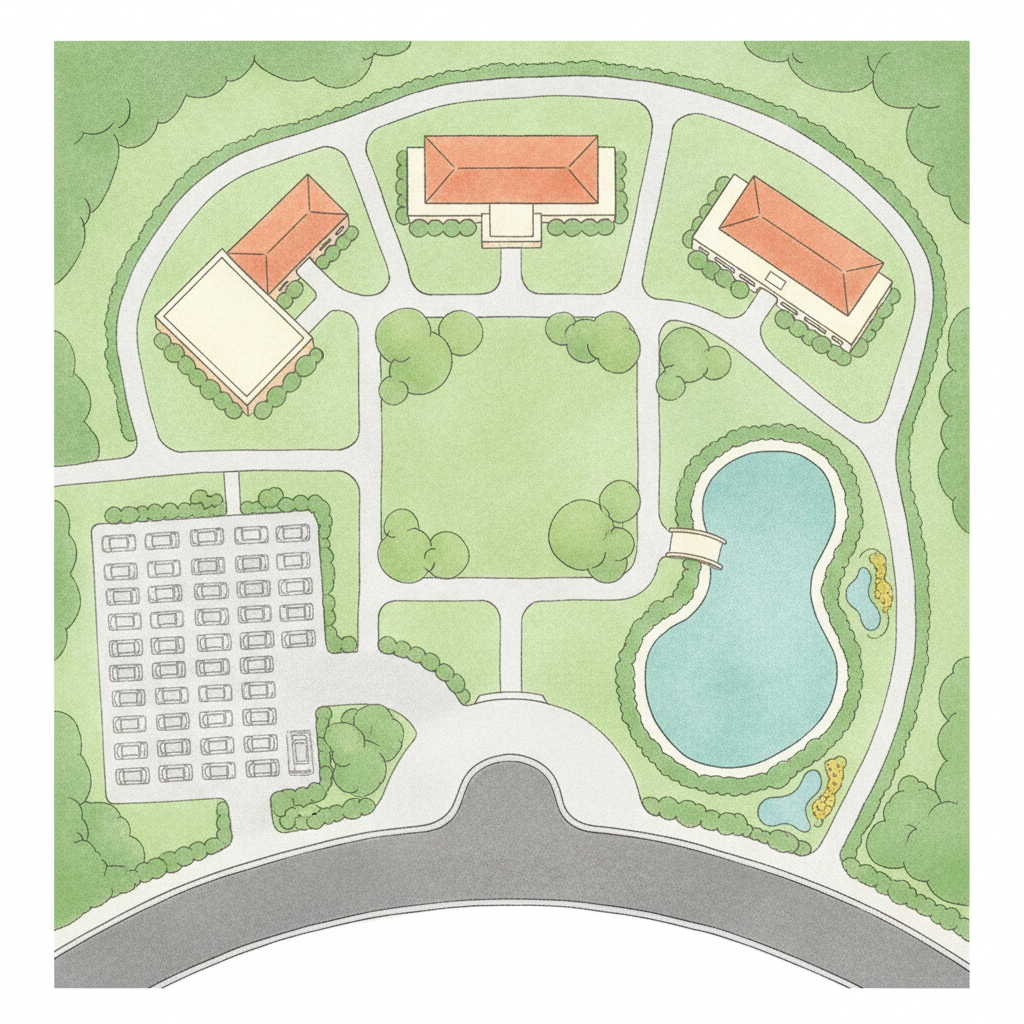
Upload a floor plan or venue map, take a photo, choose a starter template, or describe a new base to the AI. Keep the original while you choose the map’s appearance.
Drop pins by hand or ask the AI to suggest places from the image, then move and label them. Add a real photo of each spot, a description, and an optional GPS anchor. You can also bring in content waypoints already built in Studio.
Choose stops and put them in sequence; Maps draws a colored path. For live wayfinding, anchor stops to GPS or set map control points so the visitor view can show location, distance, direction, and optional spoken guidance when the device permits it.
Preview the map as a visitor, then publish a shareable link. Create QR codes for access or individual places, and make a printable poster with the map and legend.
Use one orientation route to show how Studio and Maps can work together.
In Studio, add arrival, welcome desk, and training-room stops. Put the right instruction or short quiz at each one, then choose GPS, QR, NFC, or tap activation.
In Maps, start with the venue’s plan or a template, place the same stops, and order them into a tour. Add photos of the real entrances so people can recognize where they have arrived.
Check the visitor view, publish the experience or map, and share its link or QR code with the people who need it. A printed map poster can help at the entrance.
Create a map-free guided experience, an interactive pinned map, or both together. HR opens Studio and Maps from the console. Waypoints Studio and Maps are included with any Zipplee module.